
This Ensaymada recipe yields a soft and fluffy bread with step by step video. If you’ve tried every Ensaymada recipe with no luck and are ready to give up, have faith! This unforgettable sweet and savory treat became easy to make thanks to this quick and easy No-Fail Ensaymada Recipe!
This recipe yields soft and fluffy bread. There is a step-by-step photo instruction and video for you to follow.
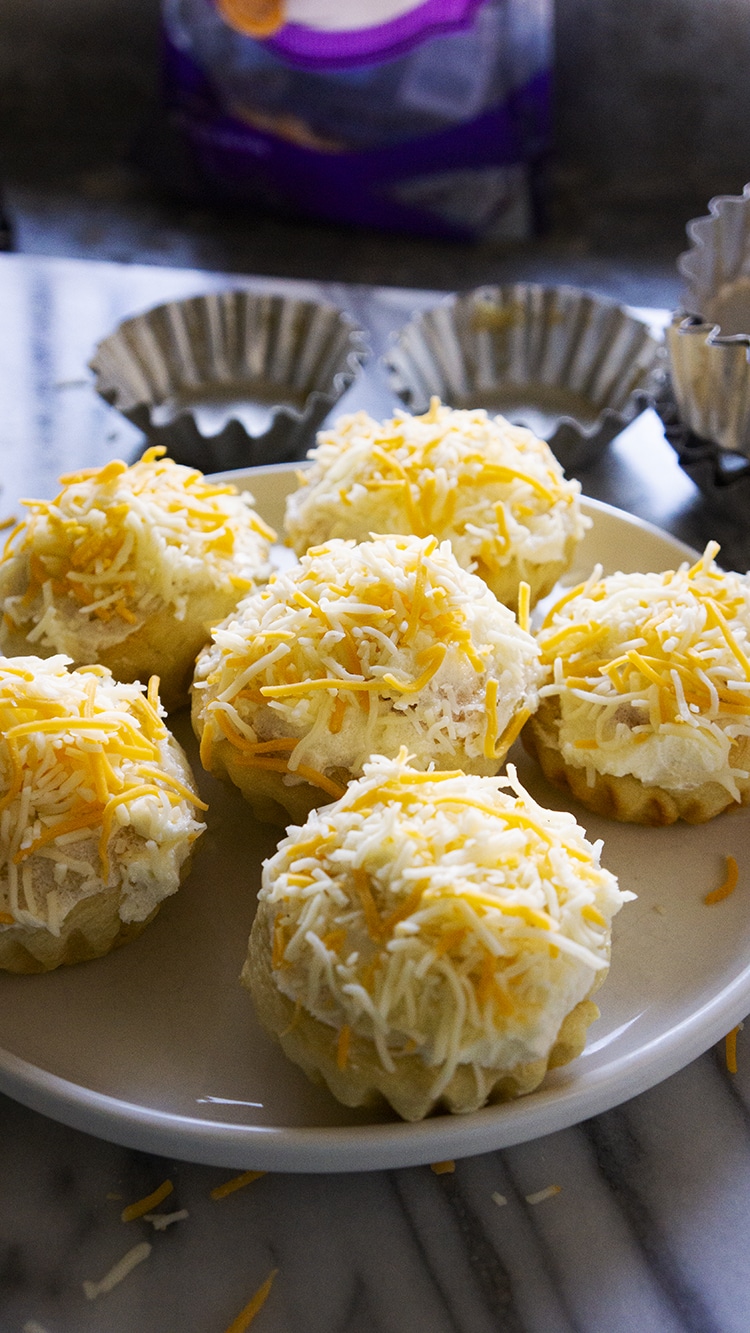
This Ensaymada recipe is no-fail and easy to follow. This is a copycat taste from the one we get from Red Ribbon or Goldilocks. It will yield 12 pieces of fluffy bread, and it is perfect for a Filipino party or occasion you may have. Double this Ensaymada recipe to make more and share with everybody. This could be your chance to make your own instead of going to Goldilocks or Red Ribbon.
Is Ensaymada Spanish or Filipino?
Table of Contents
Ensaymada originated from Mallorca, Spain, a traditional spiral-shaped pastry topped with sugar. Spain colonized the Philippines for 300 years, and this is just one of those delicious desserts which they influenced. Ensaymada is now a Filipino bread famous in the Philippines. The finished bread is topped with butter and sugar, and cheese is added to balance its sweetness. Paired with coffee, this is a perfect breakfast choice for most Filipinos.
Equipment
● Oven and Stove Top Burner – You will need a burner and pot to make the water roux in and an oven for baking the ensaymada.
● Cupcake Mold – A cupcake mold in the perfect shape for baking these rounded treats.
● Electric Mixer – Either a hand or stand mixer makes mixing up this dough much more accessible. You can mix by hand, but it will take some muscle power!
● Mixing Bowls and Mixing Utensils – A few mixing bowls and tools will help you measure and mix the ingredients for this recipe.
What is Ensaimada Made of?
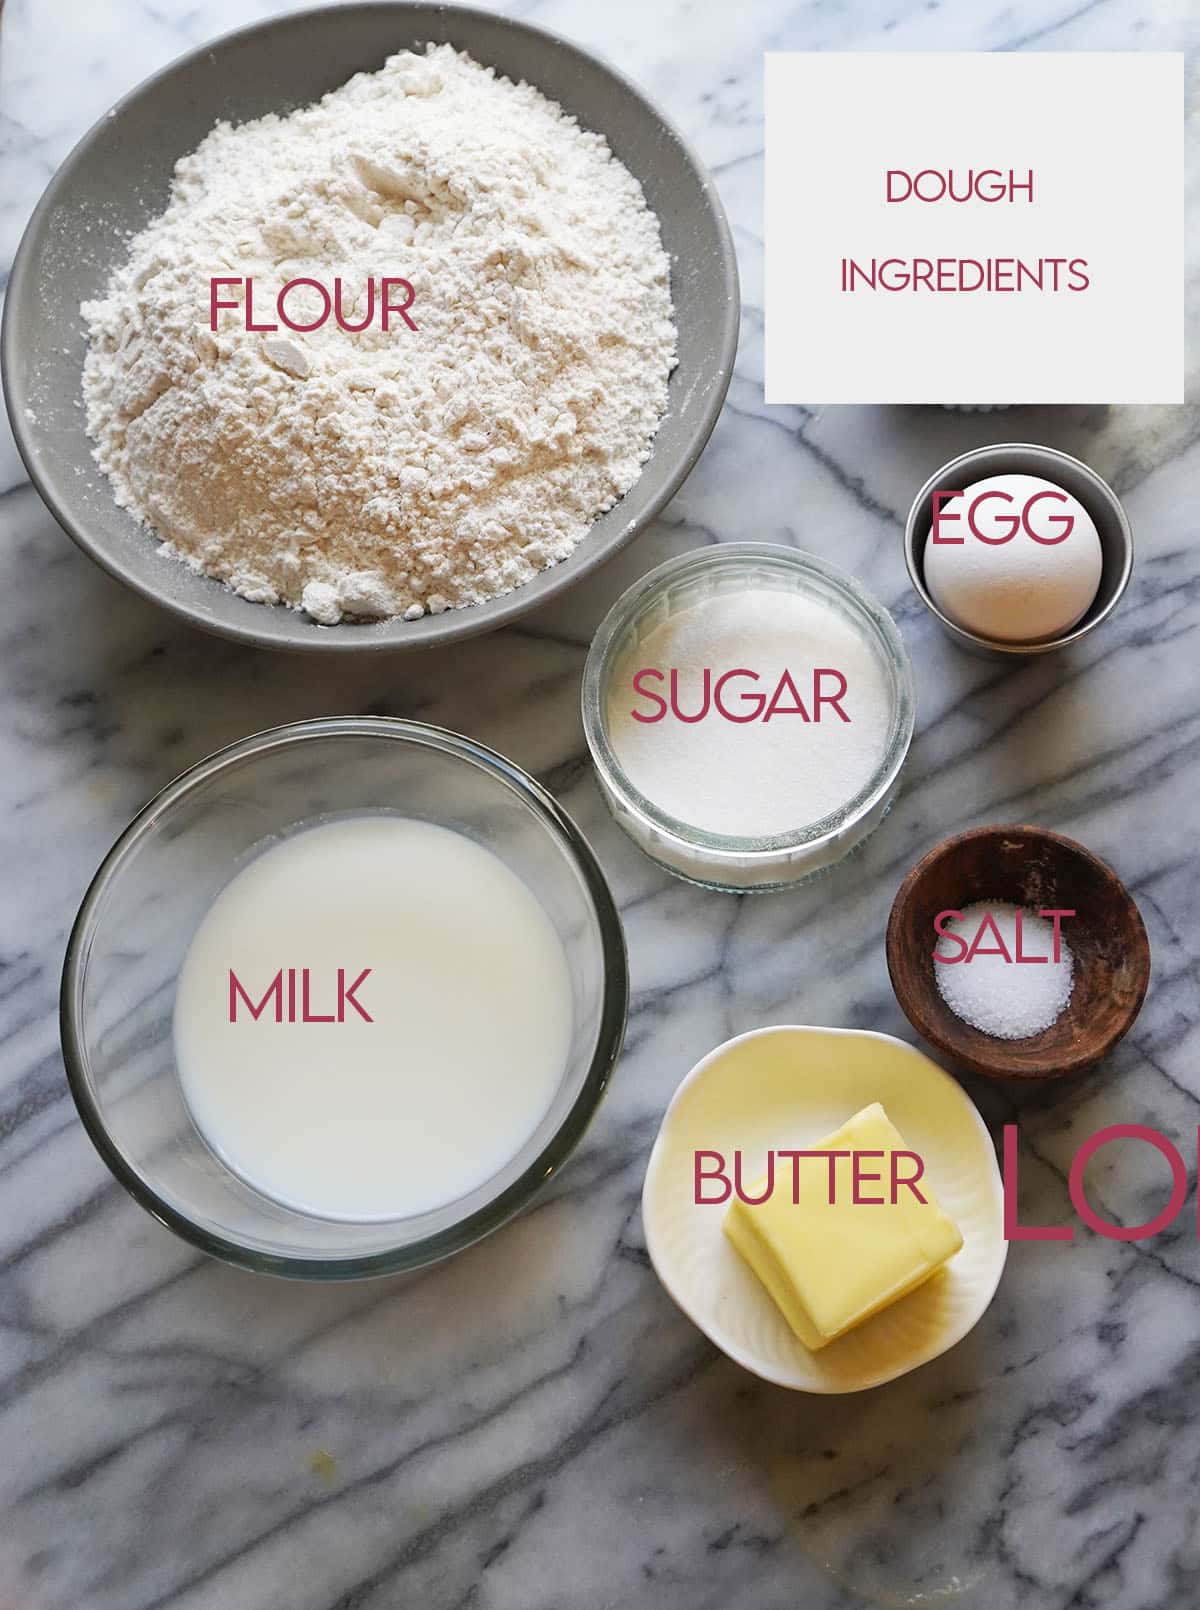
For the Dough:
● All-Purpose Flour – All-purpose flour has the right protein content for these treats. Don’t try to substitute this ingredient because it might affect the texture of the finished ensaymada.
● Sugar – White granulated sugar is perfect for giving this pastry its lightly sweet flavor.
● Salt – A hint of salt makes everything taste better. Use your favorite fine-grain salt for this recipe.
● Active Dry Yeast – Active dry yeast helps these little bites rise and adds a beautiful yeasty flavor to ensaymada. In a jam, you can swap for instant yeast at a 1:1 ratio, don’t dissolve the instant yeast and mix it straight into the flour.
● Milk – Milk adds a rich, creamy flavor. Use a high-fat variety of milk, like whole milk, for a delightfully rich texture and flavor.
● Egg – The egg acts as a binder, leavening, and flavor enhancer in this recipe. Always choose the freshest eggs available for baking.
● Butter – Butter builds on the rich flavor in this recipe. Use unsalted European butter, if available.
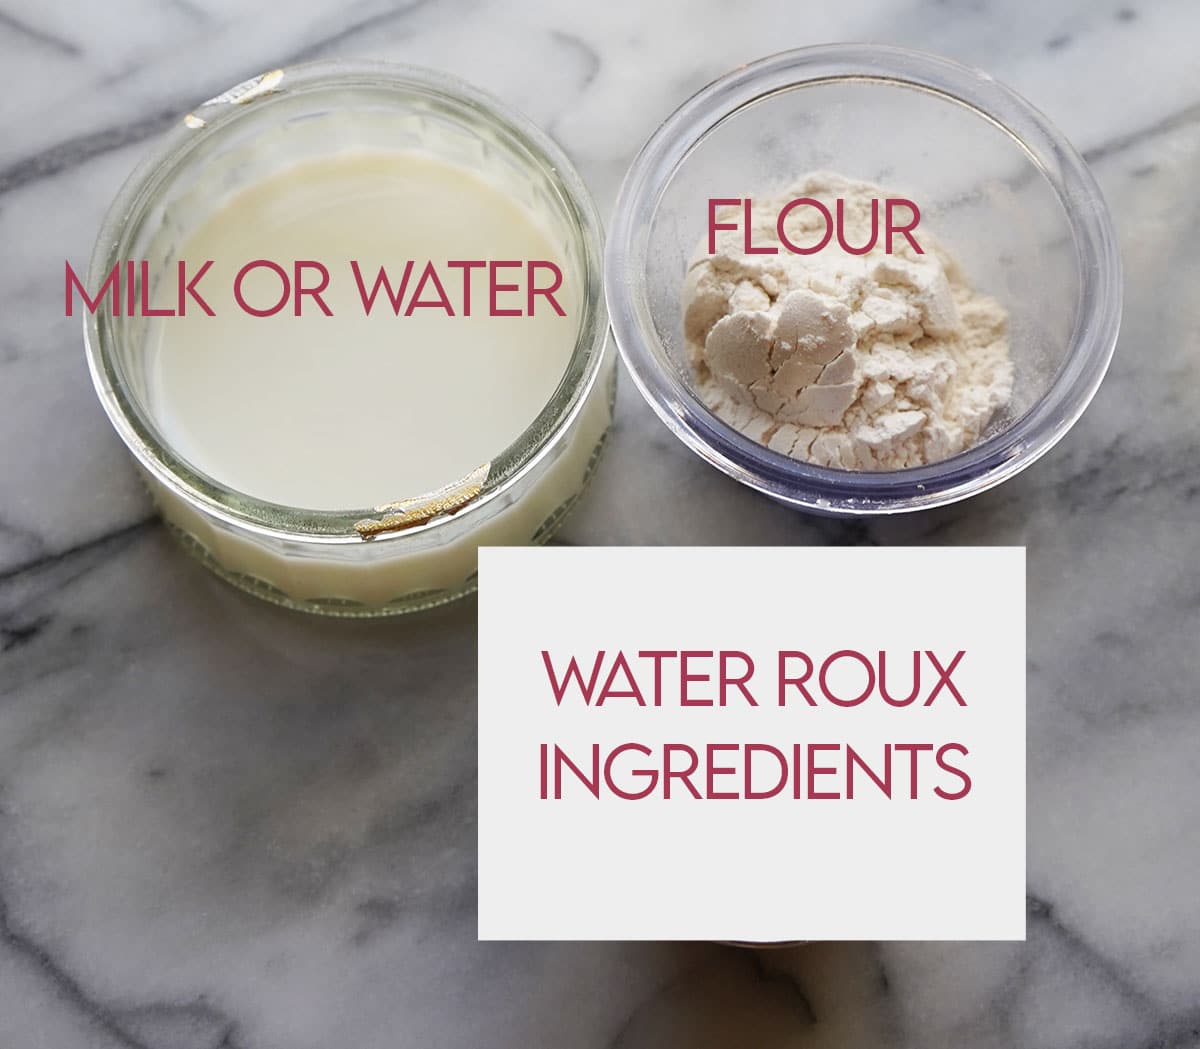
For the Water Roux:
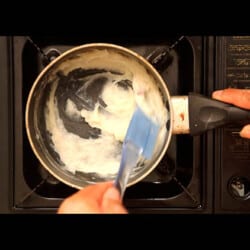
● All-Purpose Flour and Water – This Recipe uses a simple water roux to help stabilize the bread and give it a great body. Use all-purpose flour and filtered tap water for this recipe.
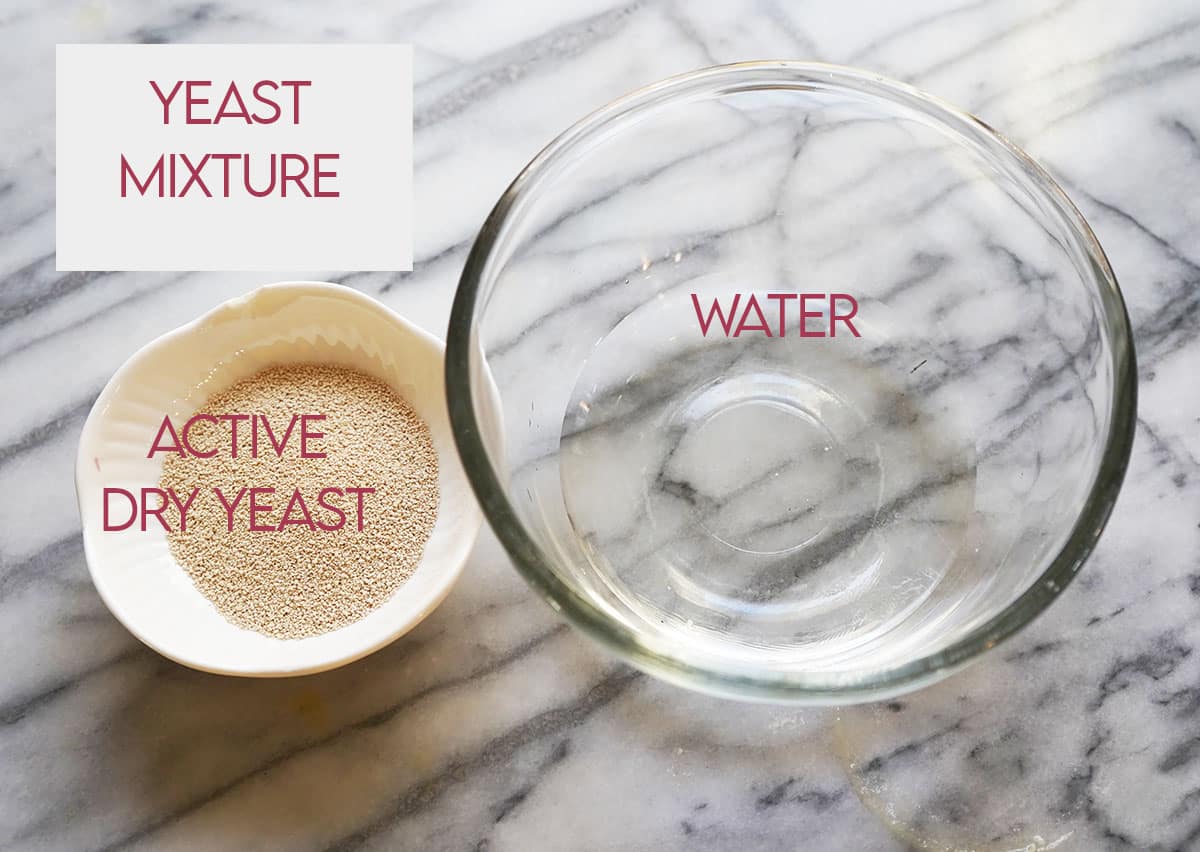
Yeast Mixture
- Water and Active Dry Yeast
For the Topping:
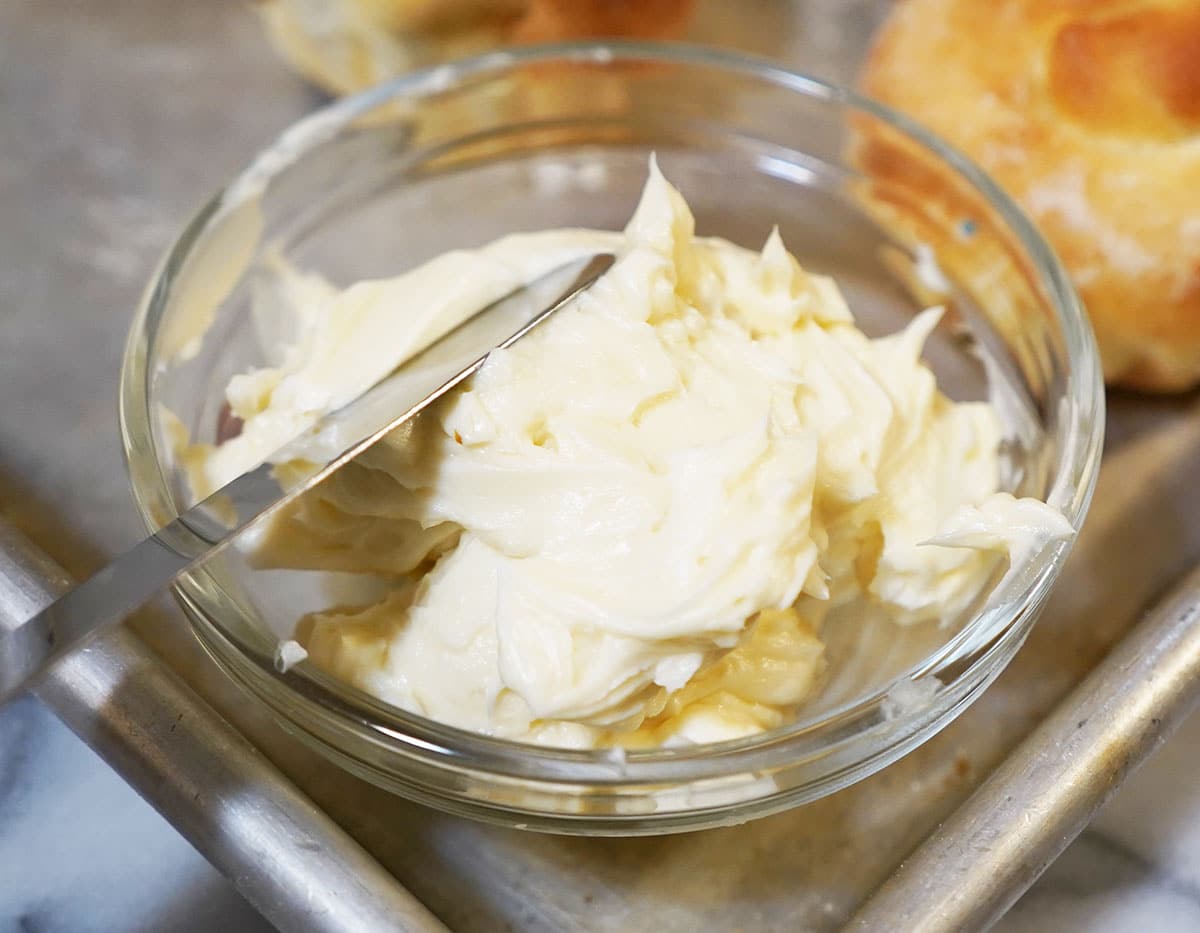
● Butter – What makes ensaymada so unforgettable is the buttery, cheesy topping, and be sure to soften the butter to make frosting easier.
● Sugar – White granulated sugar adds sweetness to the irresistible topping in this recipe.
● Sharp Cheddar or Mixed Mexican Cheese – Sharp white cheddar has the perfect bite and color for this recipe, but if you prefer, you can swap it with another sharp cheese, like blended Mexican cheese. Grab a block and grate it fresh or use a bag of pre-shredded cheese; both work wonderfully in this ensaymada recipe!
HOW DO YOU MAKE ENSAYMADA
Making Ensaymada is an easy process, and it is unnecessary to be intimidated by it. With the step-by-step video attached here and the clear-cut recipe below, there is no doubt that your first try will succeed.
- Make a roux, and mix flour and water in a small saucepan. Turn on the heat in low fire and mix until pasty. Let cool and set aside until use.
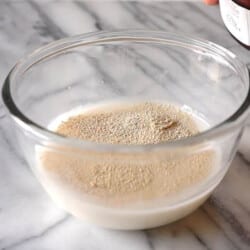
- Warm 1/2 cup milk and add the yeast. Set aside for 5- 10 minutes until bubbles form.
-
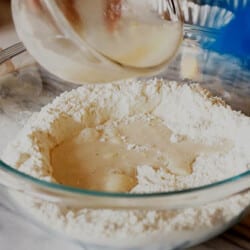
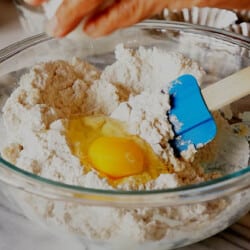
Mix flour, sugar, and salt in a large bowl and make a well in the middle. Add the proofed yeast and mix using a wooden spoon or spatula. You can use your hand, too; coat it with a small amount of oil.
-
Add the egg and mix until the dough is incorporated, then add the water roux and try to mix until the dough is combined.
-
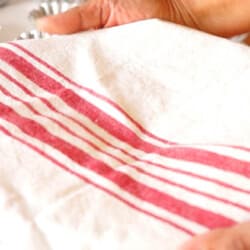
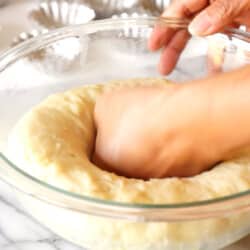
Add the butter intermittently. Add a small amount of the butter, then mix the rest until you form a smooth workable dough. Transfer the dough to an oiled bowl and cover it with a cloth or plastic wrap, and let rise in a warm place for an hour until it doubles its size.
-
Transfer the dough to an oiled bowl and cover it with a cloth or plastic wrap, and let rise in a warm place for an hour until it doubles its size.
-
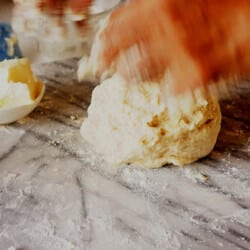
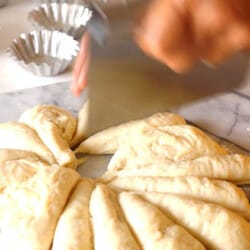
When ready, punch the dough twice and work on a floured surface.
- Form a circle and divide it into 16 pieces (depending on the size of Ensaymada you want).
-
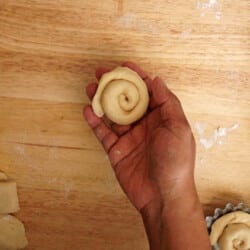
Form each piece into a log.
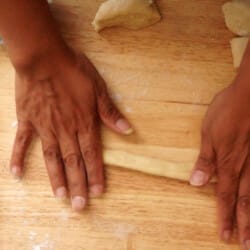
- And coil dough from one end to another.
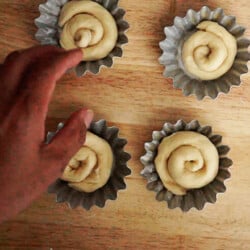
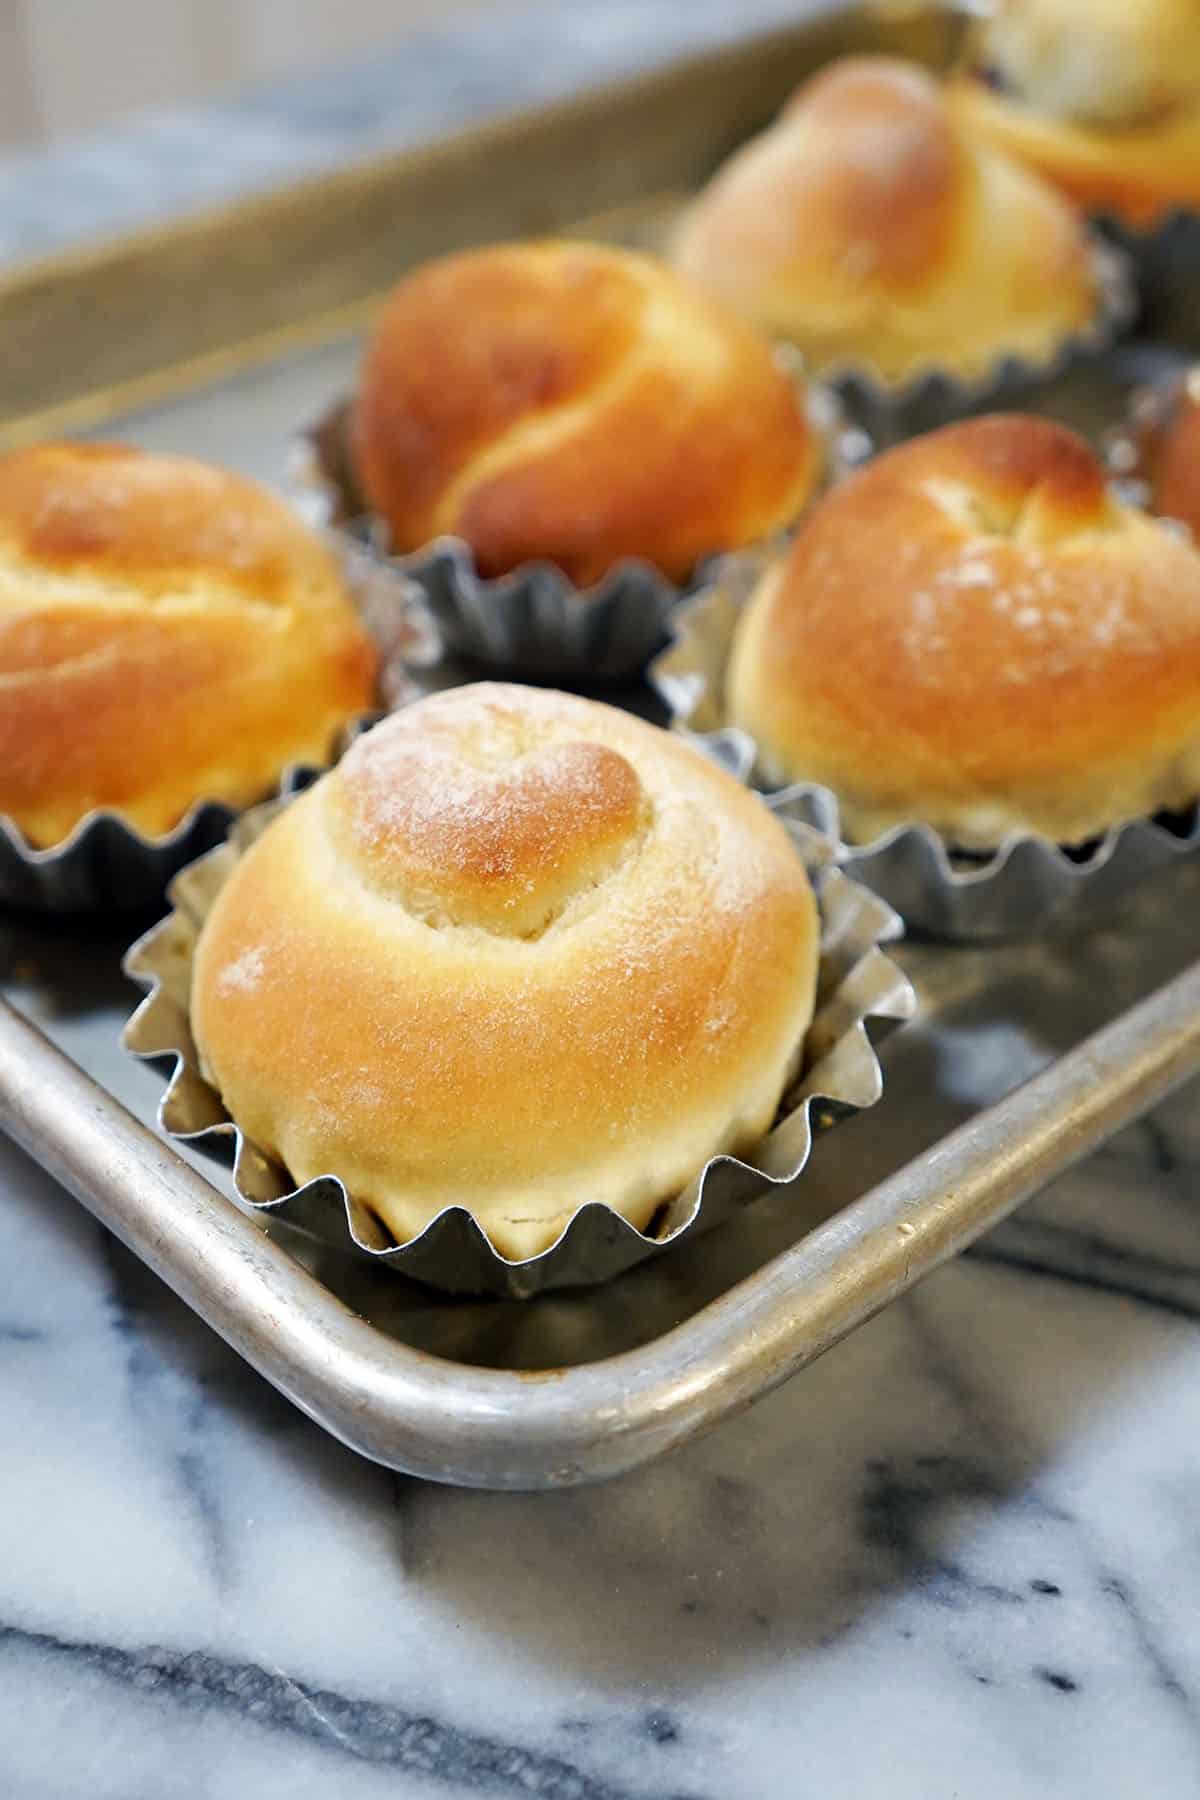
 Transfer the coiled dough and put it into a prepared pan. Let rise for another 30 minutes.
-
Bake in a pre-heated 350 F oven for 15-20 minutes.
-
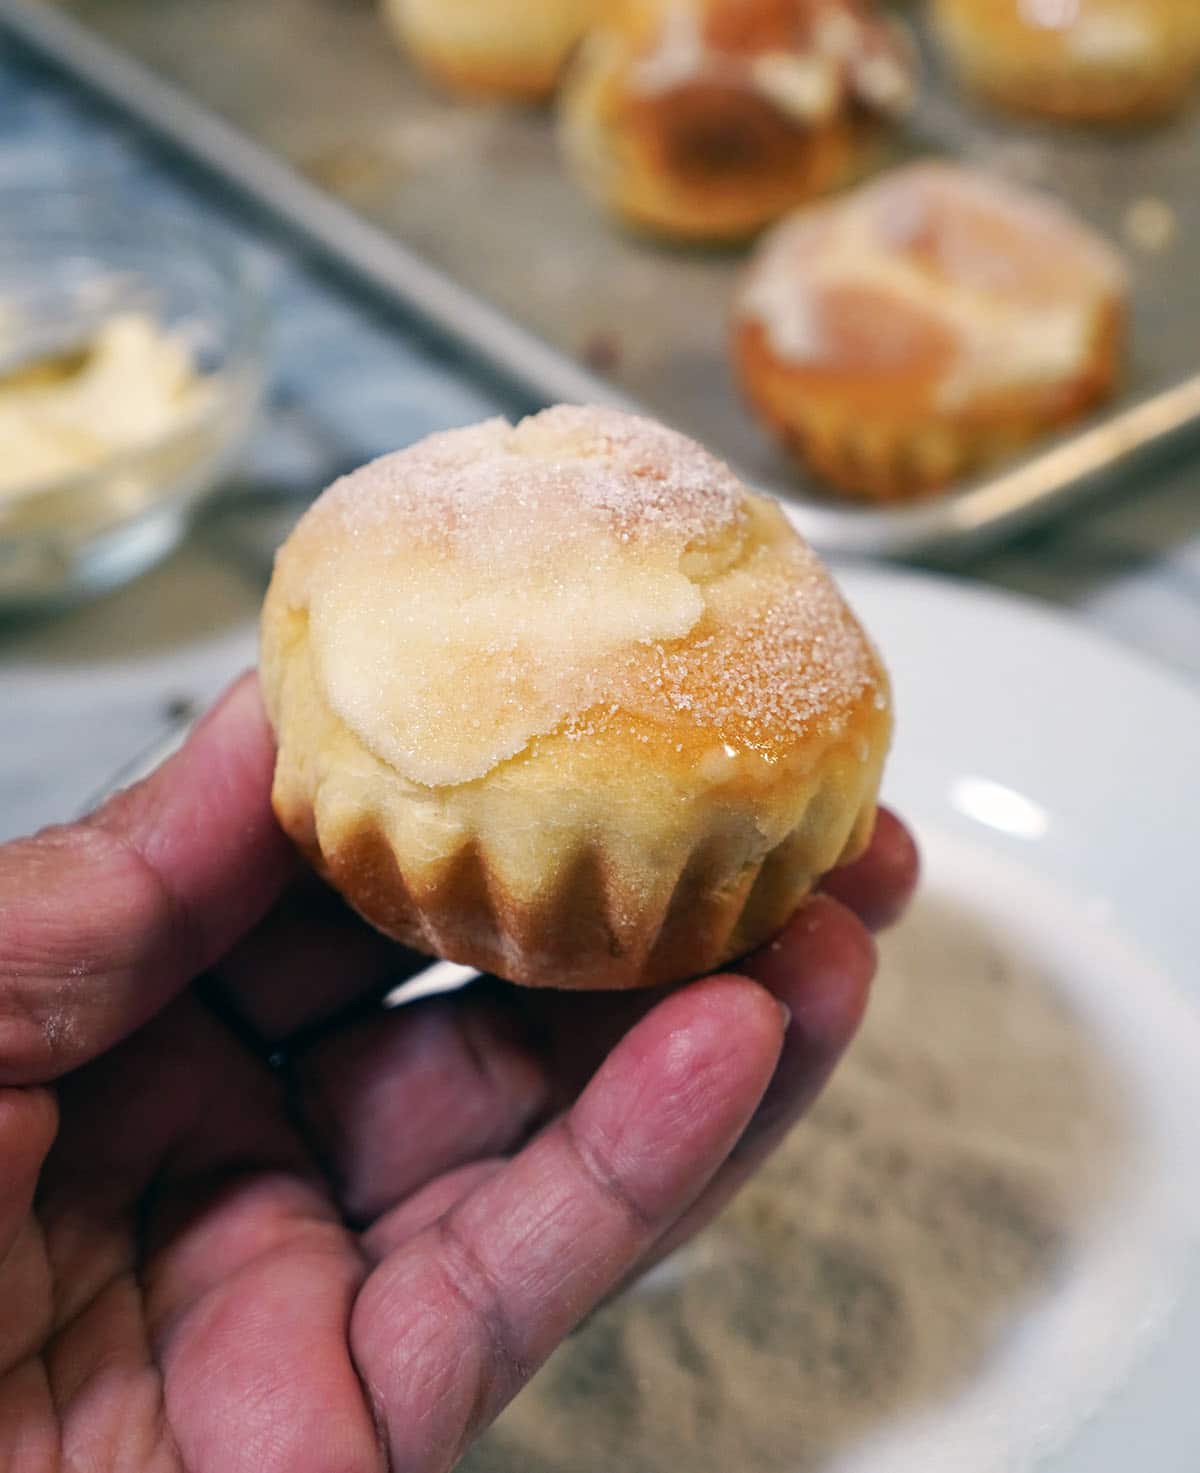
Let cool and frost.

Make the Frosting:
- Soften the butter and spread a thick layer on the finished ensaymada. On top of the butter, sprinkle the cheese and then the sugar.
- Mix the butter and sugar first, and then use this mixture to frost the ensaymada. Then top it with cheese.
TIPS TO SUCCEED IN THIS ENSAYMADA RECIPE
- Use a non-expired yeast. You will not believe how often I used expired yeast and failed in baking. Check the passed date at the back of the packet, OR if your yeast doesn’t bloom – form a bubble within 10-15 minutes; it is expired. So toss that one and get a new one.
- Gather all ingredients and utensils so it will be less stressful for you.
- Make sure to flour your working surface so the dough doesn’t stick.
- Water roux – you need to do these steps. I tried making Ensaymada not doing this step, and the bread was hard so I will be doing this step from now on.
- Last but not least, follow the Ensaymada recipe here. Read it thrice or more so that you’ll know the next steps.

How do you Eat Ensaymada?
- We often serve this with coffee or tea and dip it in our milk.
Ensaymada Common Questions
- Where did I get these Ensaymada molds?
I got these molds in the pastry store in the Philippines; however, I saw some in Bed Bath Beyond.
- Is Ensaymada a Brioche?
This is indeed a Brioche. The texture and taste of the bread, but the butter frosting, sugar, and cheese added on top made the difference.
- What is Ensaymada?
Ensaymada is the Filipino version of Brioche. Originating from Spain, the Filipino version is butter rather than lard base.
- How do you store Ensaymada?
You can store the Ensaymada in the fridge in a sealed container. You can also freeze the bread unfrosted and frost it after thawing.
- How do you reheat Ensaymada?
If the Ensaymada is frozen, you can thaw it on the counter before heating it in the microwave. Heat it for thirty seconds.
What is the Flavor of Ensaymada?
This is sweet, buttery, and fluffy. The mixture of the sugar and butter frosting makes each bite creamy.
FOR MORE EASY & QUICK FILIPINO BREAD RECIPES:
- Pandesal Recipe
- How to Make Spanish Bread
- How to Make Pandesal Ube with Cheese Filling
- How to Make the Best Pandesal with Step-By-Step Video
- List of Filipino Desserts
- 8 Filipino Bread for Thanksgiving
Follow me on Instagram, Pinterest, and Facebook

Soft and Fluffy Ensaymada Recipe
Equipment
Ingredients
Yeast Mixture
WATER ROUX:
Dough Mixture
FOR THE TOPPINGS:
Instructions
MAKING DOUGH:
FOR THE FROSTING:
Video

Notes

Welcome!
Hi, my name is Shobee. Welcome to The Skinny Pot, where we cook Easy Recipes from the available ingredients from our pantry and fridge! We’re your go-to source for simple and delicious recipes that make the most of what you already have at home. Talk about the pantry challenge. Read more...


Sjp says
I have tried many recipes and I think this is the best one for me ( as I live alone, I don’t want to get stuck with humongous amount of and not having a lot of freezer space) I used Edam cheese because processed cheese from the Asian store is more expensive than Edam or Gouda.
The result were soft ensaymada. This is a keeper.
Thank you.
Shobelyn Dayrit says
Yes this is a sticky recipe. As you added the butter, knead until you are sure the butter had been incorporated. So, maybe, 4-5 minutes.
leila morales says
Hi i watched the video and read the instruction. It doesnt show or say how ling to knead it. The dough still looks sticky and not elastic. Please advise.
Shobelyn Dayrit says
You’re welcome. Take care.
Rachel says
I love this recipe my boyfriend can’t get enough of it! Thank you so much for an amazing recipe
Shobelyn Dayrit says
This will be a very sticky dough, so just add a little bit of flour for you to be able to work on it. Knead it for about 5 minutes.
leila says
i watched how you knead them. it seems very quick. How long do you have to knead them?
Shobelyn Dayrit says
HI, Mary. I got it when I went home in the Philippines, but I saw some in Bed Bath and Beyond. They are cheap there.
Mary says
Hi! Thank you so much for the recipe. It looks really good & easy to follow.
May I ask where you purchased your tin molds? I looked at Amazon and they seem to be pricey at over $6 each (brioche molds).
Shobelyn Dayrit says
Thank you for letting me know. I hope you will try some of the dishes in the blog and enjoy them as well. God bless!!
Rick says
Great recipe. Easy to make and very tasty. My wife loves them!
Shobelyn Dayrit says
I am so so glad you like it . Thank you.
Leah says
This recipe is awesome. Can’t believe I waited. The buns were super light and fluffy. The other variation that I did was filled it up with Nutella, chocolate chip and chopped walnuts. The lesson that I learned was on the second proofing. I took time filling up the individual buns with different fillings that they had different resting times so a few has better rise than the others. Nevertheless, they were all still good. I’ll probably make another batch and make it like it’s a loaf. It’s a good replacement to the grocery bought white loaf bread.
Shobelyn Dayrit says
I am so glad you like this recipe.Have a great New Year, Hzl.
hzl says
This recipe is great! I thought it was intimidating to make ensaymada but you made it easy for me. It’s really soft, pillowy and a great success!!
Thanks for sharing
Shobelyn Dayrit says
I am glad it was a success!
Anonymous says
It doesnt only take 45 minutes. It takes really long…but then ending went well
Shobelyn Dayrit says
I am so glad that you found it soft and you succeeded on it. Have a Merry Christmas!!
Gg says
This was, at least for me, not easy to make – even though I was able to successfully make this. I fully expected that this would be soft because of the process implemented – making that roux. Thanks!
Shobelyn Dayrit says
This is the standard size.Similar to the standard cupcake pan size in the US.